
Getting Set Up (Start Here)
Let's assume you've just joined and you're inside the platform for the first time.
Three quick steps
In this article, we're going to:
1) set up your bio
2) create your email signature
3) connect your email
The emails SpeakerDrive writes for you come from two sources: your background, and the event itself. Your bio and signature give it the first half.
Tip: You'll also see a setup checklist in the app. It walks you through these same three steps and checks them off as you go.
Step 1: Update your speaker profile
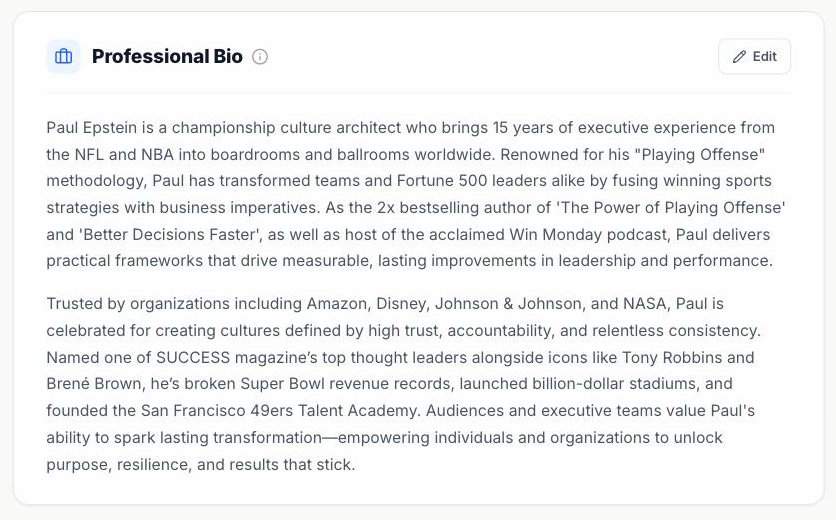
Head to Settings (gear icon) → My Profile.
You'll see your Professional Bio. Make sure it's up to date and reflects your background.
Keep it short and focused.
Tip: We may have filled this in for you already. If it looks good, you're set. If anything's off, click Edit and make a few tweaks, or paste in some text from your website.
Right under it sits About Me: your angle, in one sentence. Click Generate from Bio to get a draft, then make it yours. It shows up under your sign off in every email.
Step 2: Update your email signature
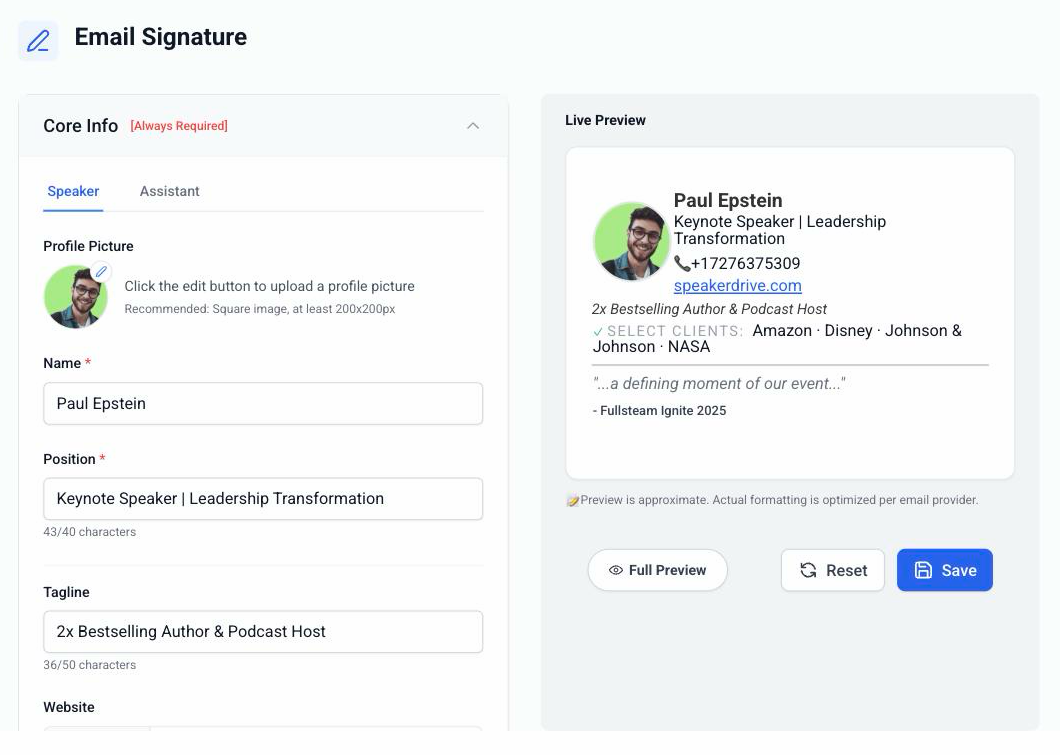
Next, head to Settings → Email Signature.
Fill in Core Info (your photo, name, position, tagline, website). Then add Past Clients, one contact link (your speaker reel, LinkedIn, or phone), and a testimonial or two.
On the right you'll see a Live Preview. As you fill in the fields, watch it update.
Click Save when done.
Tip: Your signature feeds the personalization too. If your Past Clients line includes a university and you're writing to a university, the email may mention it.
Step 3: Connect your Gmail
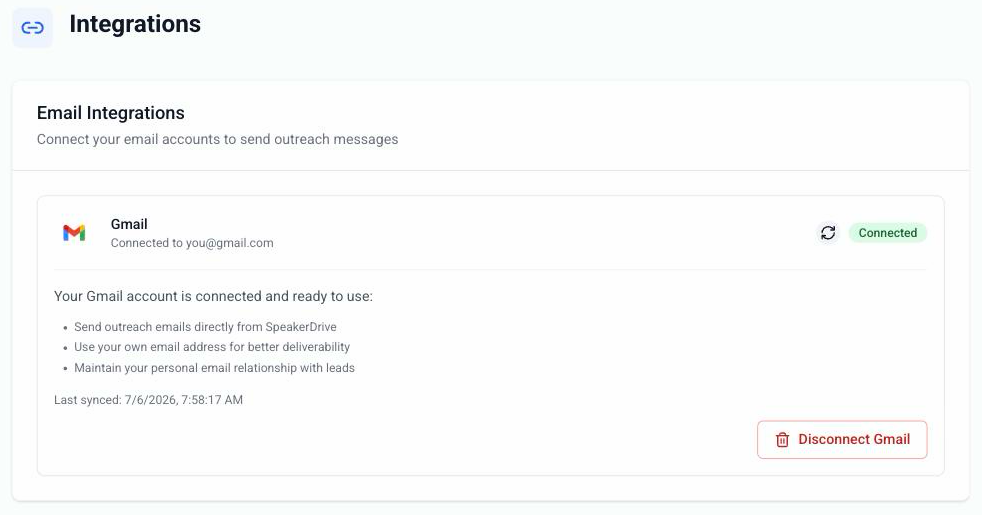
SpeakerDrive sends outreach through your own Gmail, so your emails come from you.
Go to Settings (gear icon) → Integrations, then click Connect Gmail Account.
A Google window pops up. Check every box it shows you. If a box is left unchecked, the connection won't work and you'll need to redo it.
Once it's done you'll see a green Connected chip.
When you send outreach, the emails show up in your Sent folder. When someone replies, it lands in your inbox like any other email (and in the Reply Hub, more on that later).
Tip: If Integrations ever shows Needs reconnect, just click Connect again. Sending pauses until you do, and picks right back up after.
One Gmail per account for now. More inbox slots are coming soon.
On a trial? Gmail connects when you upgrade. Everything else here works today, and your first lead (next article) needs no Gmail at all.
You're ready
That's the full setup. Let's go find your first lead.
Prefer a walkthrough? Book a time on our calendar and we'll step through the platform together.